Introduction
Color codes and symbols help you quickly judge difficulty and choose a route that fits your skills, visibility, and snow conditions.
Essence / Steps
-
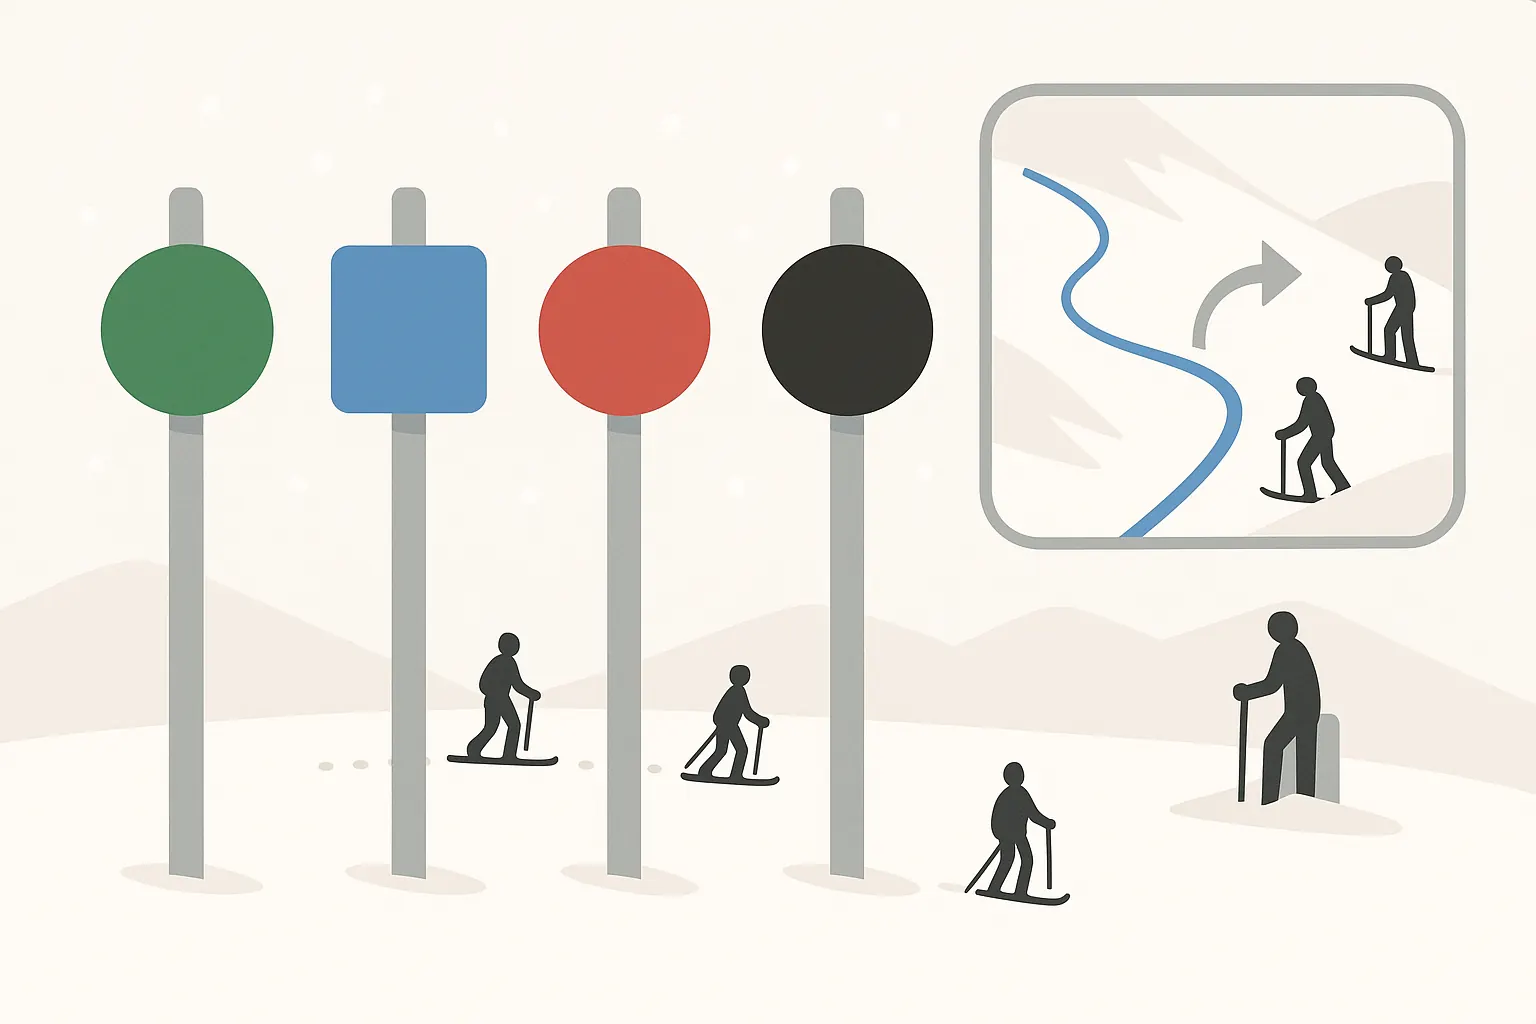
Know colors and symbols
Europe: green very easy, blue easy, red intermediate, black advanced. North America uses shapes (circle/square/diamond). Watch for slow zones, closures, and work signs.
-
Match to you and conditions
Choose for the group’s weakest level, visibility, ice, and traffic. When unsure, drop one color.
-
Check map and merges
Confirm junctions and rollovers on boards; when joining a piste, look uphill and keep to the side where applicable.
-
Adapt during the run
If you meet ice, fog, crowds or steeper sections, switch to an easier route. Stop at the side, never under a blind rollover.
Typical Mistakes
- Following friends onto steeper pistes than your level.
- Ignoring slow signs and narrowing sections.
- Stopping mid-piste or under blind rollovers.
- Assuming all blues are easy—ice and poor visibility change difficulty.
Common Questions
Are colors the same everywhere?
The idea is similar but symbols vary by region. Always check the resort’s map legend.
What if there’s no clear sign?
Use the map, ask patrol or instructors. If unsure, choose an easier option.
How to choose in changing conditions?
Step down one color when it’s icy, foggy, or very crowded.
Instructor’s Tip
“When in doubt, go one color easier. A safe choice today means more skiing tomorrow.”
Conclusion
Understanding signs and honestly assessing conditions is the fastest way to a safe, enjoyable day. Choose the piste that fits you today.