Introduction
Great boots deliver energy without pain. The process includes measurement, shell checks, custom footbeds, heat-moldable liners and cuff/cant alignment.
Steps
-
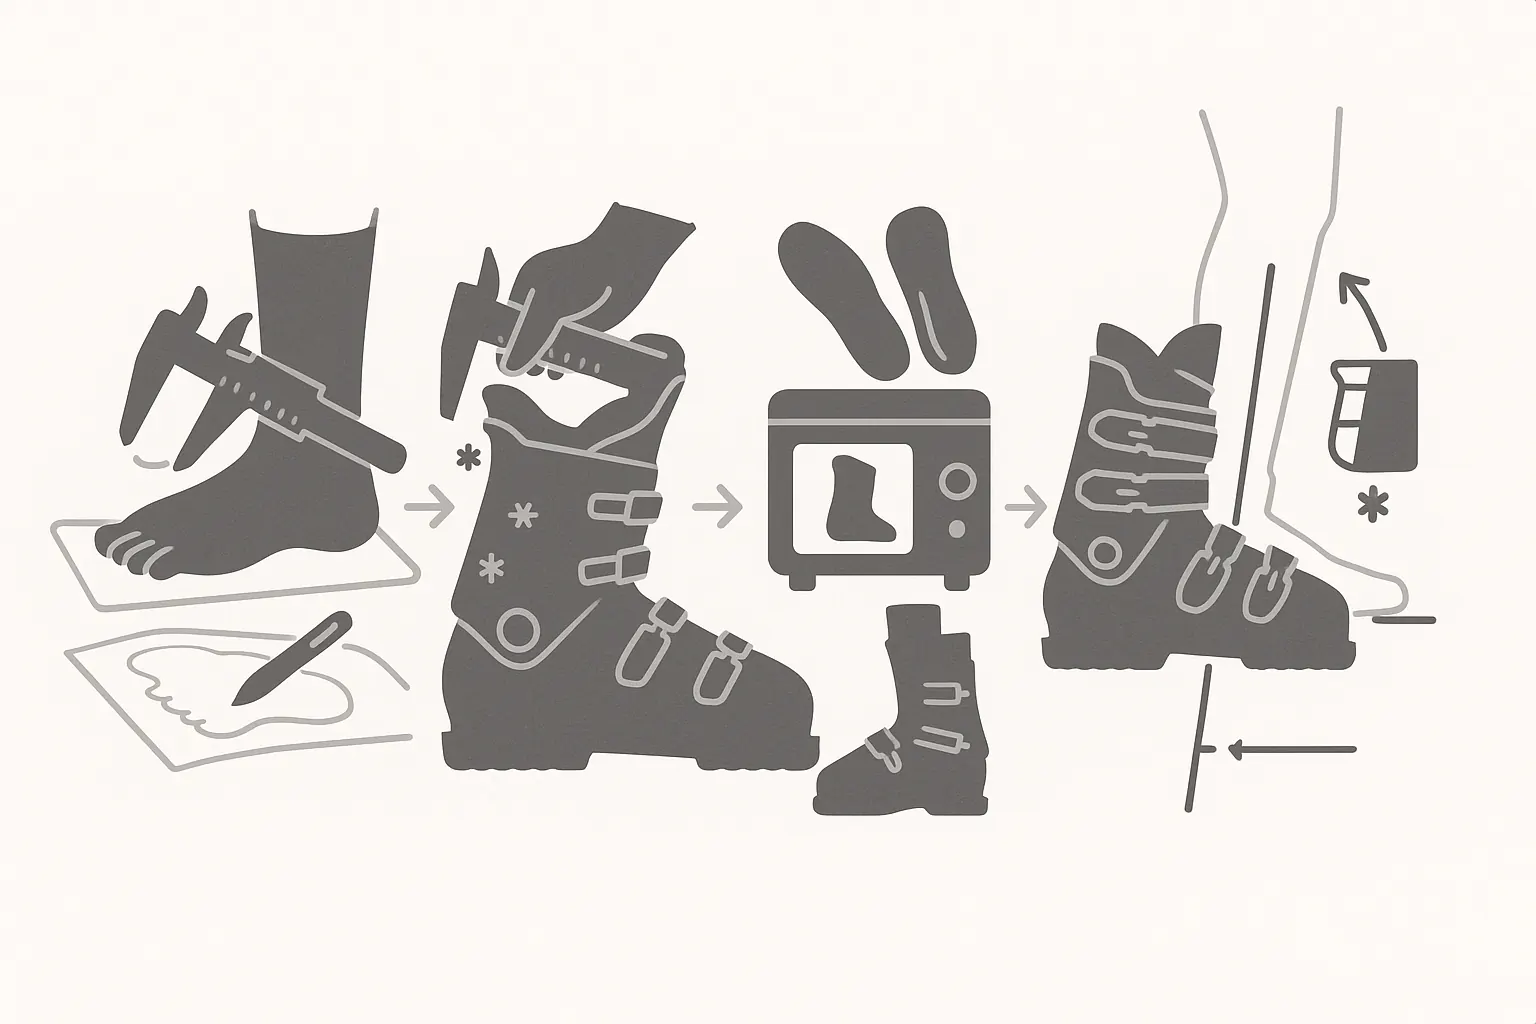
Measure & assess the foot
Length, last width, instep height, heel shape, toe position; note pressure points and asymmetries.
-
Shell check
Remove liner, stand in shell. Heel gap 1–2 cm for performance; map hot spots for punch/stretch; verify instep volume.
-
Footbeds & heat molding
Stabilize heel/arch with custom footbeds. Heat liner/shell per spec, buckle, cool to set shape.
-
Alignment & fine tuning
Cuff alignment (canting), forward lean, micro-buckles and power strap. Test on snow, then relieve remaining pressure points.
Typical Mistakes
- Oversized shell for “comfort” → sloppy control and cold feet.
- No footbeds → wandering knees and weaker edge hold.
- Skipping heat molding → persistent hot spots.
- Poor cuff/cant alignment → asymmetric turns and fatigue.
Beginner Questions
How tight should new boots feel?
Snug and close without sharp pain. After molding and 2–3 ski days, liners compress by ~2–4 mm.
Do I need custom footbeds?
Not everyone, but most skiers benefit from a stable arch and heel—especially on hard snow and at speed.
What if my foot goes numb?
Check shell width, buckle pressure over the instep, and toe room; adjust punch/stretch and micro-settings.
Instructor’s Tip
“Fit is a process, not a moment—plan a follow-up ski and fine-tune after the first session.”
Conclusion
Properly fitted boots deliver warmth, balance and powerful edges—the backbone of advanced skiing without pain.