Introduction
Aim for a tight, painless interface to the ski: correct shell fit, supportive footbeds, accurate cuff/cant alignment, and precise closures.
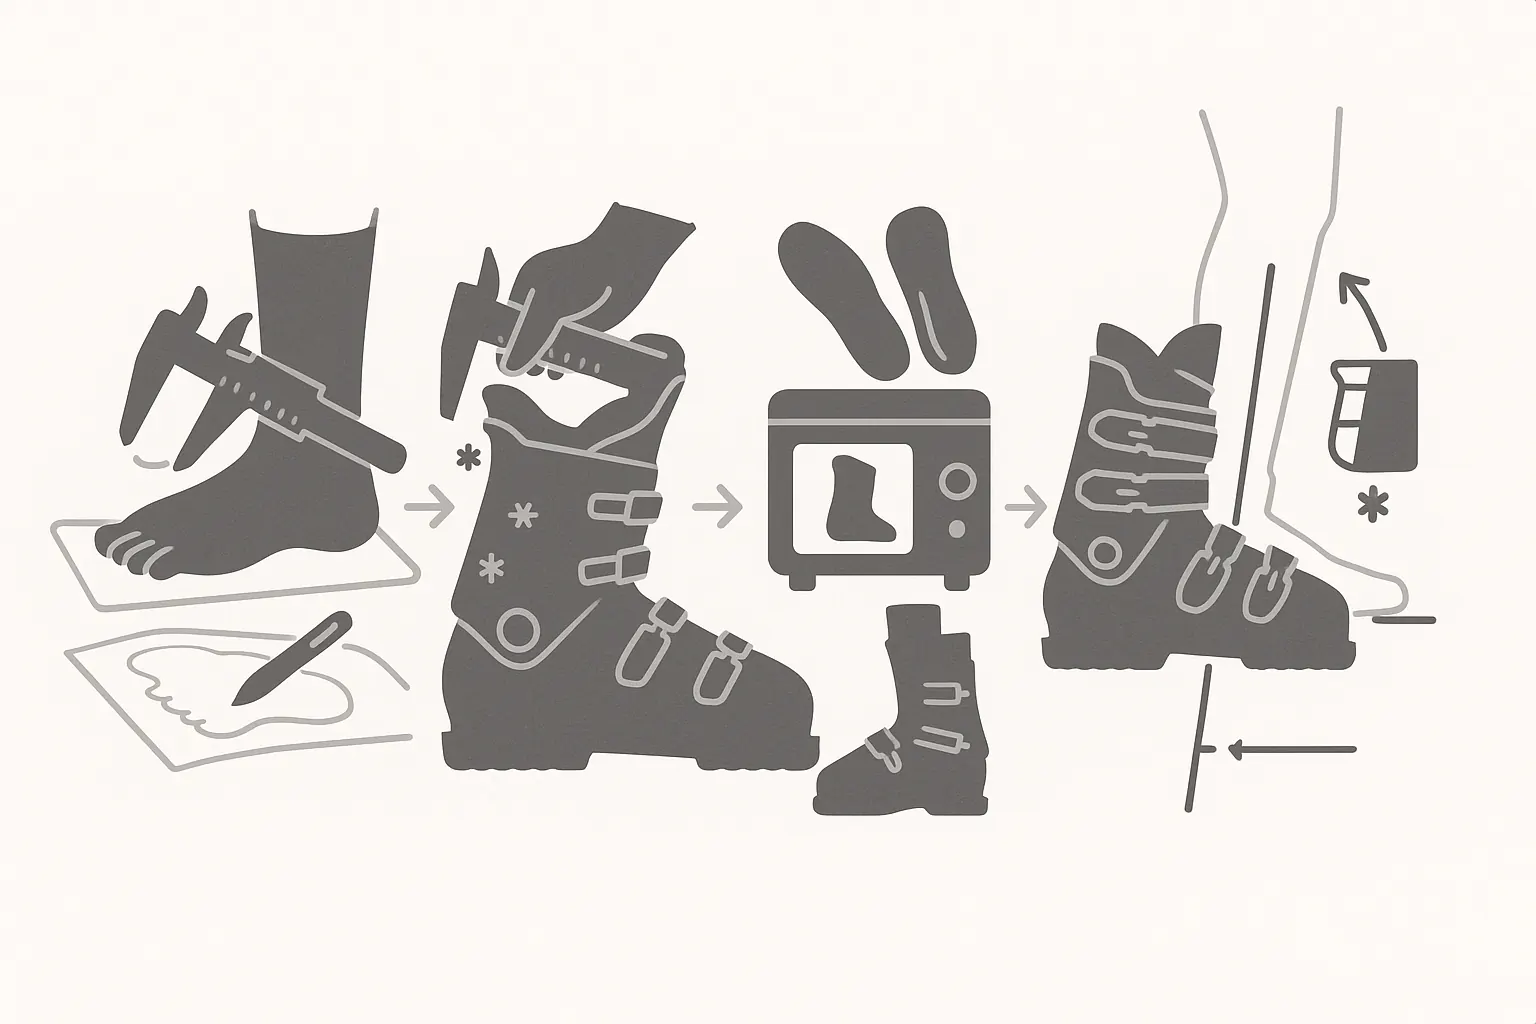
Essentials / steps
-
Shell fit & length
Remove liner; stand in the shell. Heel gap 5–15 mm; verify width/instep. Mark hot spots.
-
Footbeds & stance
Install supportive footbeds. Tune ramp/forward-lean (spoiler, wedges) so the knee stacks over the ball of foot.
-
Cuff alignment & cant
Match tibia axis to shell (cuff). Adjust canting if one edge bites early; keep changes minimal.
-
Buckles & power strap
Close from lower to upper; use micro-adjust for circulation. Tighten power strap last for continuous fore support.
Typical mistakes
- Overshort shell or cramped toe box → numb toes.
- No supportive footbeds → unstable foot, vague edges.
- Misaligned cuff/cant → uneven edge engagement.
- Over-tight upper buckles → blocked ankle flex.
Questions
Power strap before or after buckles?
After buckles—this creates a continuous pressure band and calmer tongue.
Do I need canting?
If one edge grips sooner on flat ground, assess stance and apply very small cant changes.
Instructor’s tip
“Stabilize the foot first, align second, tighten last. Change one variable at a time.”
Conclusion
Correct boot setup boosts power transfer and reduces fatigue. Test on snow and iterate with small adjustments.