Introduction
On hard and icy snow, mistakes amplify. Rely on early tipping, a stacked stance and micro pressure control to keep the edge engaged.
Four Key Steps
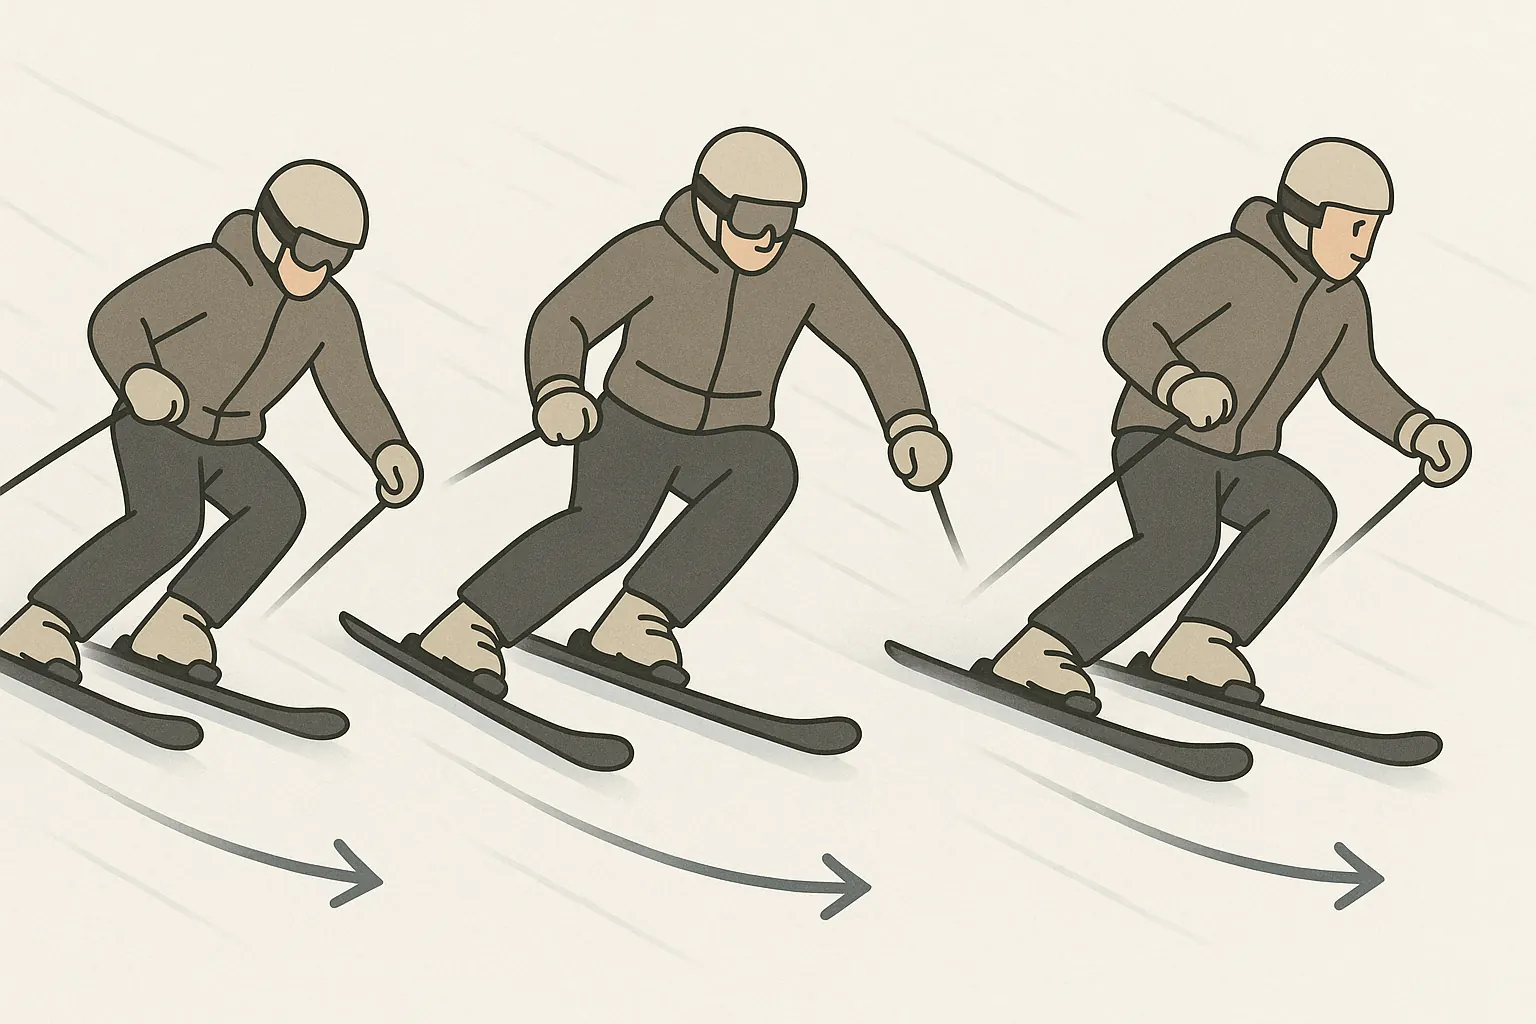
- Prepare the platformTip early from ankles/knees, add angulation; balance centered over the outside ski.
- Micro pressure managementProgressively build then soften pressure through the exit—avoid sudden pop.
- Quiet upper bodyStay stacked; feet make small adjustments, knees track toes.
- Line & speedControl speed with line and edge angle, not skidding; finish arcs slightly uphill.
Typical Mistakes
- Late edging leading to mid-turn skid.
- Overloading that pops the ski off the snow.
- Hip rotation instead of ankle/knee tipping.
- Too narrow/low stance losing stacked alignment.
Advanced FAQs
How to gain grip on pure ice?
Sharp edges and early tipping. Keep pressure stacked over the platform (outside ski) without abrupt hits.
Which radius works best?
Medium to long arcs give more time to stabilize and a safer exit.
What about pole plants?
Use a subtle cue for rhythm—avoid strong jabs that disrupt the edge.
Instructor’s Tip
“On ice, quiet pressure is powerful—treat it like a dimmer, not an on/off switch.”
Conclusion
With early tipping, a stacked stance and micro pressure control, you can carve confidently even on very hard surfaces. Build skills gradually from moderate slopes.