Introduction
Layering lets you control heat and moisture as weather and effort change. A smart system combines the right materials and uses vents proactively rather than just “adding warmth”.
Applied – 4 steps
-
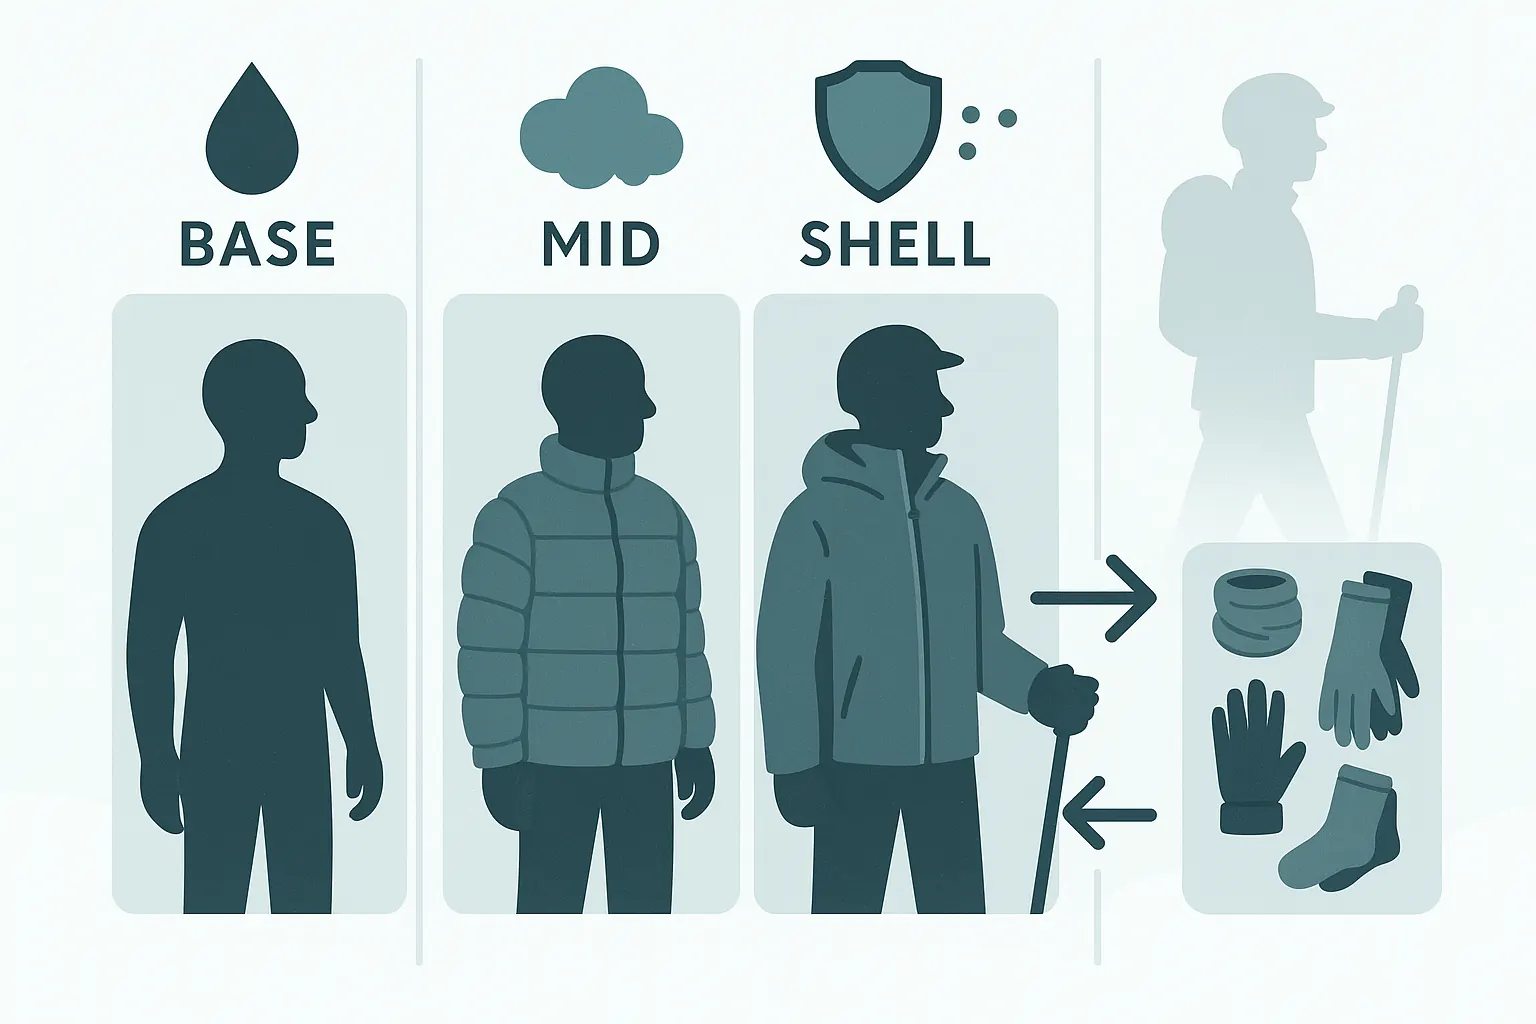
Base: moisture & thermoregulation
Merino/synthetics (no cotton). Weight by temperature −5/0/+5 °C; swap the base if soaked. Thin socks, moderate compression.
-
Mid layer: modular insulation
Fleece for active days; synthetic or light puffy for cold/windy. Two thin layers beat one thick for finer tuning.
-
Shell: barrier + venting
Waterproof/breathable shell with pit-zips and leg vents. Rule: open while working hard, close on wind/exposure.
-
Micro-kit: be ready for swings
In pack: thin puffy, buff, spare gloves/socks, hand warmers, storm goggles/mask. Rotate layers every 2–3 runs.
Typical Mistakes
- Cotton base layer – holds moisture and chills.
- One bulky mid layer with no tuning range.
- Closed vents during hard skiing – sweat then chill on the lift.
- No backup in the pack – comfort dictated by weather swings.
Common Questions
Merino or synthetic?
Merino manages heat/odour better; synthetics dry faster and cost less. Mix based on day and budget.
Do I need a puffy under the shell?
Useful for windy/cold stops. For active laps, fleece + venting is usually better.
How do I know I nailed the layers?
You feel slightly cool at start, warm (not sweaty) while skiing, and not cold on the lift.
Instructor’s Tip
“Treat vents like gears—open/close them more often than you add/remove layers. It saves time and keeps you dry.”
Conclusion
Advanced layering is precise heat and moisture control. With smart materials, venting and a micro-kit, you’ll stay in the comfort zone all day.