Introduction
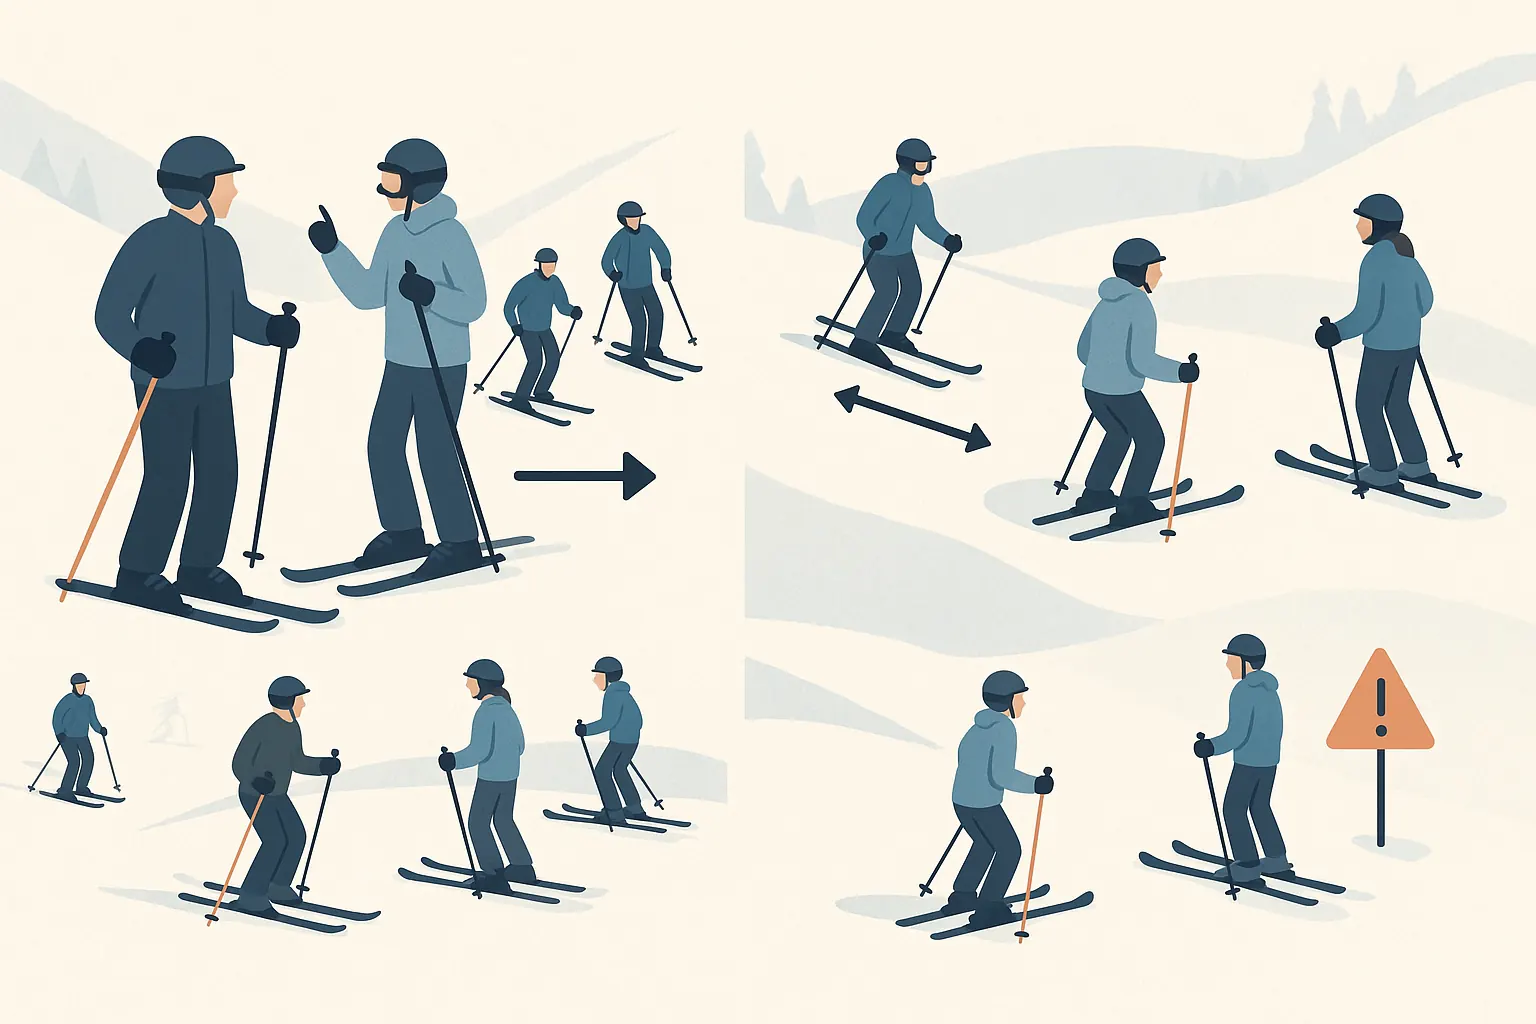
Group skiing multiplies fun and learning—if everyone follows the same protocol: briefing and roles, formation and spacing, leader signals, planned regroup zones, and a clear incident procedure.
Steps
-
Briefing & roles
Agree on pace, route and roles: leader sets tempo & signals; sweep goes last and checks for stragglers.
-
Formation & spacing
Ride a staggered line with spacing ≥ one full stopping distance. Don’t cut others’ lines; use hand/pole signals.
-
Regroup points (leapfrog)
Leader designates wide, visible bays. First arrival stops and signals; others leapfrog to the next bay.
-
Stopping & incident procedure
Stop out of the fall line, above others. For accidents: mark the spot, call for help, and follow the group plan.
Typical Mistakes
- Stopping in the fall line or directly below teammates.
- Shoulder-to-shoulder riding with no spacing; cutting others’ lines.
- No designated regroup points—group fragments and blocks traffic.
- Shouting instead of clear visual signals.
Beginner Questions
How much spacing is enough?
Keep a gap that lets you stop safely without contact—at least one full stopping distance.
Who gives the go signal?
The leader—once the track is clear and the previous group has moved on. The sweep confirms all are ready.
What if skills differ a lot?
Set pace to the least experienced member; stronger skiers hold formation and help maintain spacing.
Instructor’s Tip
“Great groups are quiet and predictable: clear signals, steady spacing, and stops only where planned.”
Conclusion
With roles, spacing and signals aligned, groups stay safe and connected—and the run feels smooth for everyone.